Add to your IDE
Learn how to add iFlow to your favorite IDE
iFlow seamlessly integrates with popular Integrated Development Environments (IDEs) to enhance your coding workflow. This integration allows you to directly leverage iFlow's capabilities within your preferred development environment.
Supported IDEs
iFlow currently supports two major IDE families:
-
Visual Studio Code
- Download iFlow VSCode Plugin
- Download iFlow VSCode-like editor plugins
- Requires VSCode 1.101.0 or higher
-
JetBrains IDEs
- Download iFlow JetBrains Plugin
- Only supports version 2024.1 and later
-
Zed
- Requires Zed version 0.201.0 or higher
Features
-
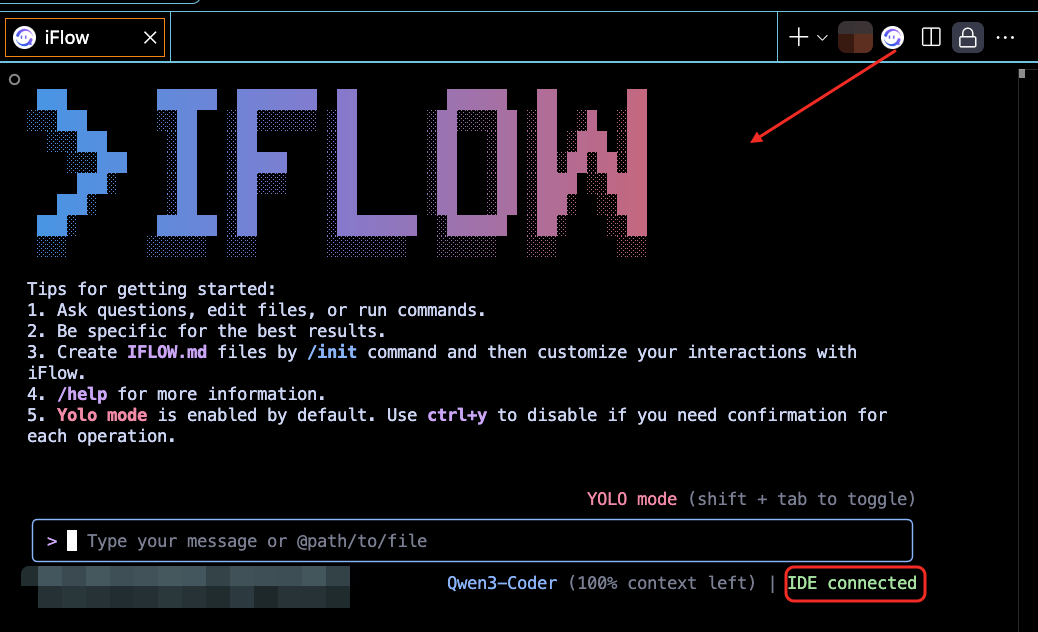
Quick Launch: Click the iFlow button in the UI
-
Context Selection: Selected text in the editor will automatically be added to iFlow's context

-
File Awareness: iFlow can see which files you have open in the editor

-
Connection Awareness: When you start iFlow in VSCode's terminal, iFlow will automatically detect and connect. When the connection is successful, iFlow will display the connection status "IDE connected" in your terminal. You can also use the iFlow command "/ide" to manually establish a connection


-
Close Connection: If you need to close the connection, use the iFlow command "/ide" and select "Disconnect from IDE"
Installation
VS Code
- Open VSCode (please note that the version must be at least 1.101.0)
- Open the extension marketplace and search for "iflow"

- Click to install iFlow CLI
💡 Tip: When you start iFlow in VSCode's terminal, it will automatically detect and install the extension. Note: This feature requires you to install iflow-cli-vscode-ide-companion-0.1.7 or higher. If your installed version is iflow-cli-vscode-ide-companion-0.1.6 or lower, you need to install manually.
JetBrains IDE
- Open JetBrains IDE (note that only version 2024.1 and later are supported)
- Open plugin marketplace
- Install iFlow
-
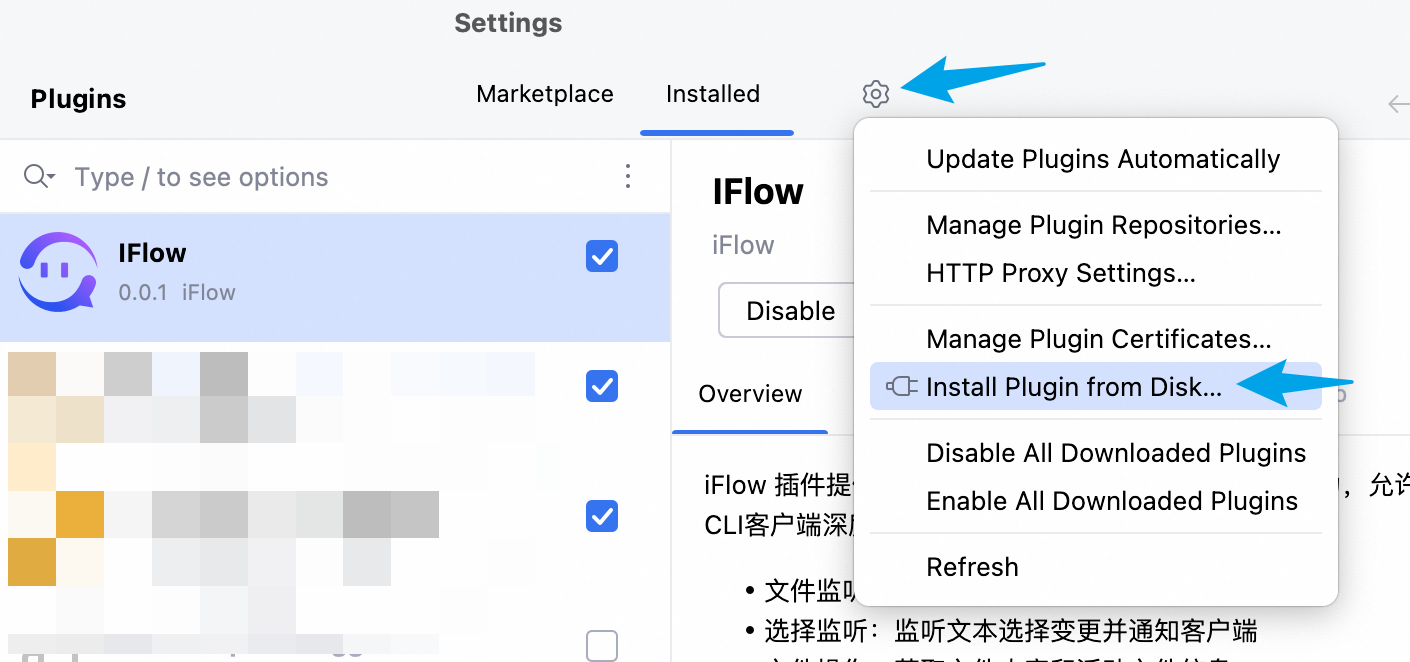
Click the settings icon at the top right of JetBrains IDE to open the plugin marketplace
-
Search for iflow

-
You can also select Install from Disk

-
Select the iflow-idea-latest-version.zip installation package, the installation package has corresponding download links in the documentation above

-
Restart IDE

Zed Editor
- Open Zed (version must be at least 0.201.0)
- Click on your profile avatar and select Settings

- Configure iFlow
"agent_servers": {
    "iFlow CLI": {
      "command": "iflow",
      "args": ["--experimental-acp"]
    }
  }

- Click the agent panel in the bottom right corner

- Create an iFlow CLI conversation

- You can now start chatting in the input box